Table Of Contents
Connecting the SmartVent System
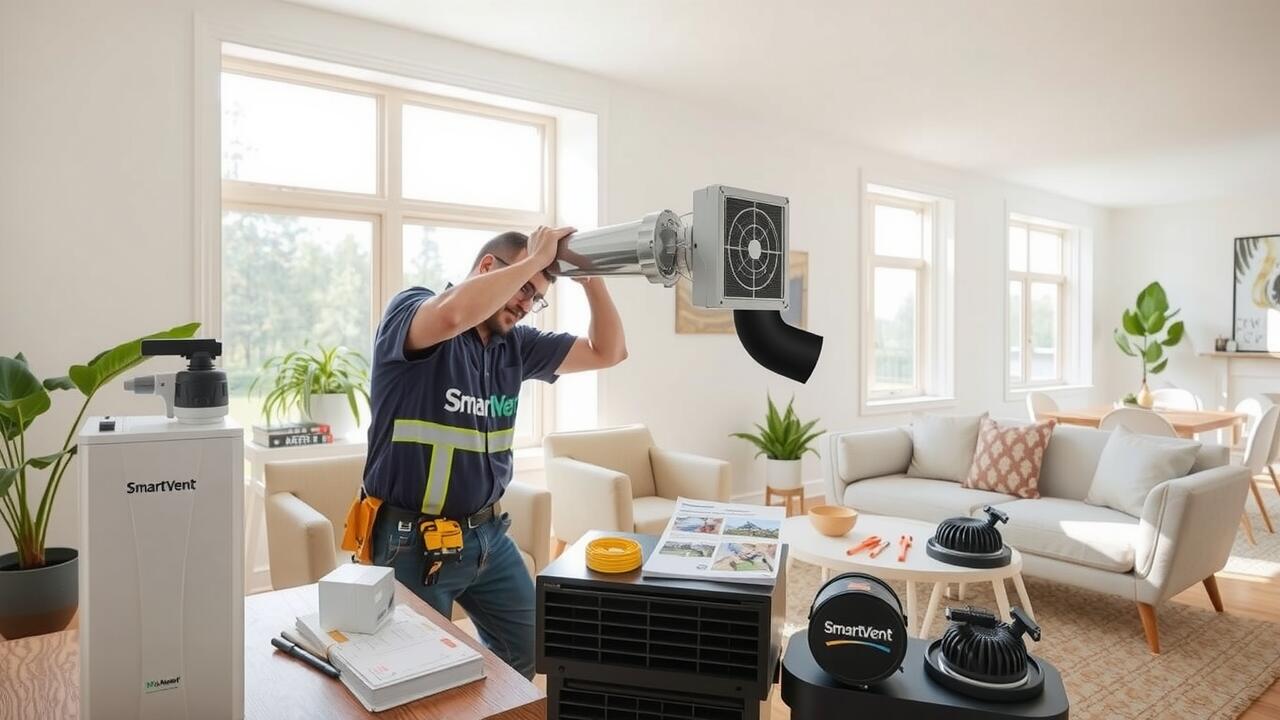
The initial step in connecting the SmartVent system involves positioning the unit according to the building plan provided. Precise measurements are essential to ensure it fits seamlessly into the intended space. Once situated, the contractor will secure the unit, making sure it is properly anchored to prevent any movement that could affect performance. Ducting connections should then follow, linking the SmartVent to both the intake and exhaust points in the property. This stage is crucial for establishing a cohesive airflow system that optimally controls indoor air quality.
After securing the ducting, the electrical connections need to be established. This involves wiring the SmartVent to the power supply and ensuring that all connections comply with local safety regulations. The contractor will double-check connections for any potential issues that might arise during operation. A well-executed SmartVent ventilation installation in Wellington requires adherence to these technical specifications to ensure reliability and efficiency in managing home ventilation.
Wiring and Electrical Connections
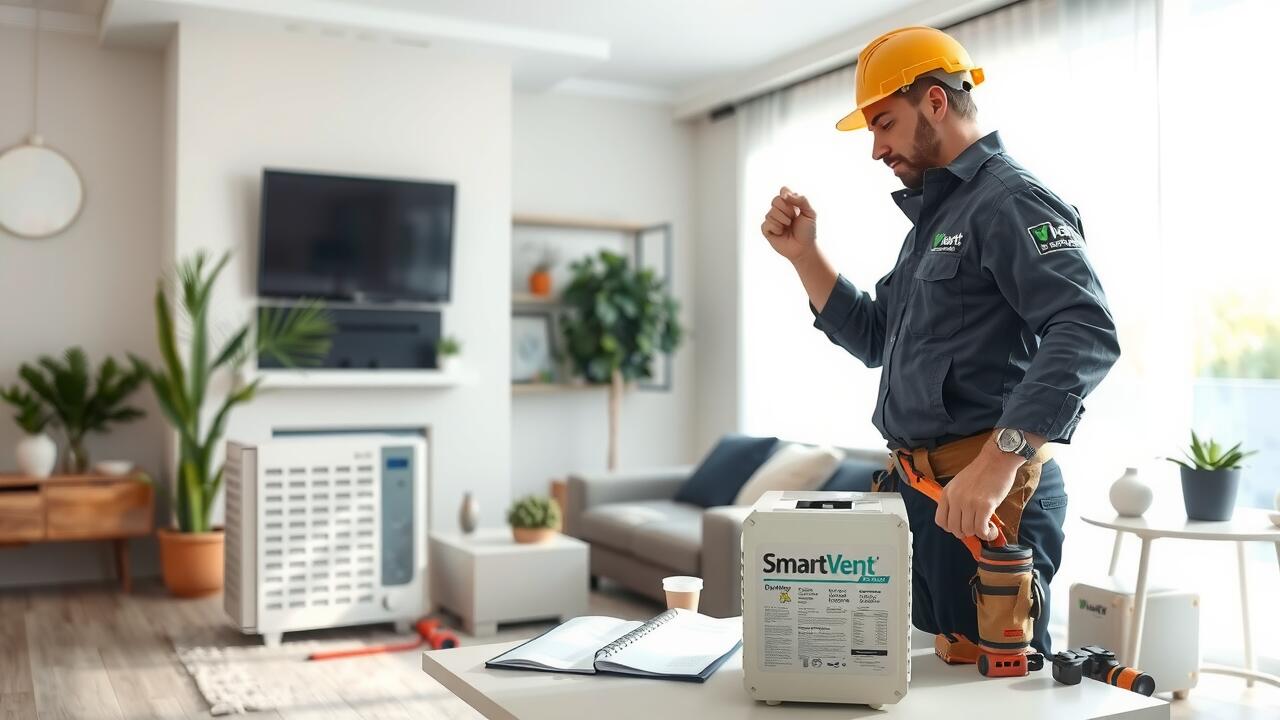
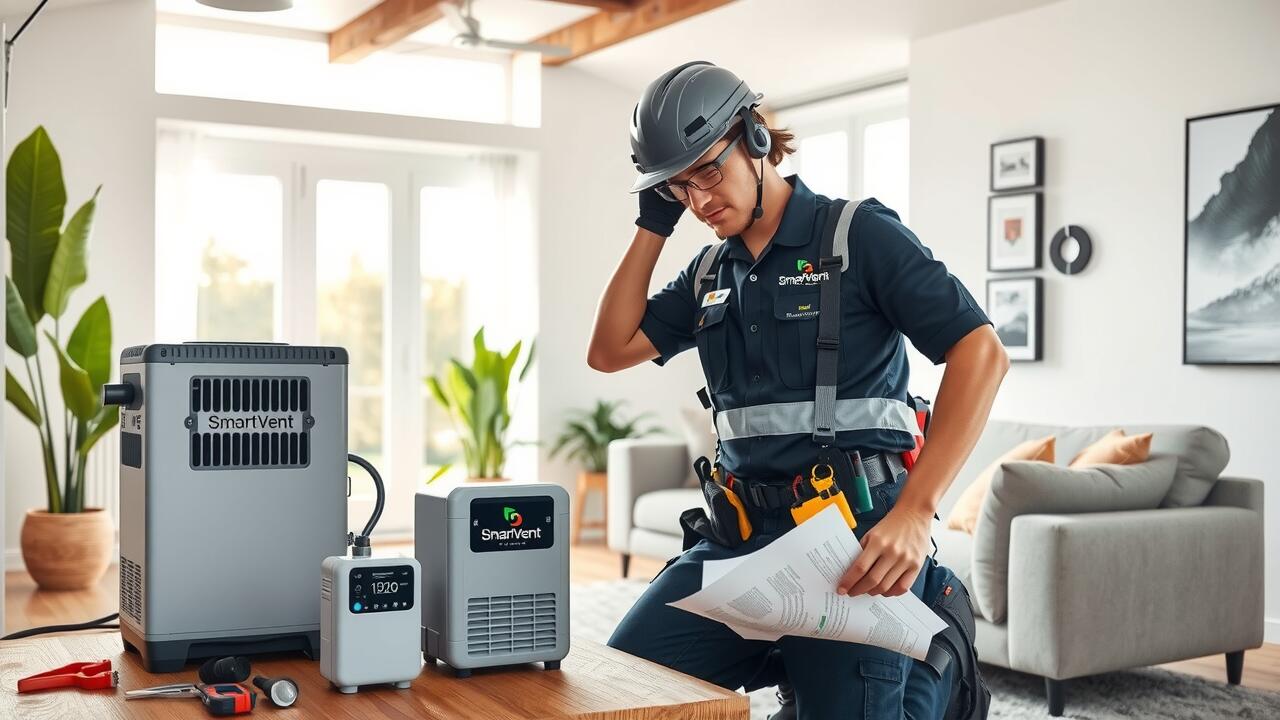
During the SmartVent ventilation installation in Wellington, the first step involves carefully planning the wiring routes to connect the system efficiently. An electrical contractor will assess the layout to ensure the wires run seamlessly from the ventilation unit to the power source. It is essential to comply with local electrical regulations, which may require specific types of cabling and protection measures. Attention to detail plays a crucial role in avoiding potential hazards and ensuring the longevity of the system.
Once the wiring has been laid out, the contractor will proceed to make the necessary electrical connections. This involves securely attaching wires to terminals on the SmartVent system and connecting them to the house's existing electrical circuits. Proper insulation and secure connections are vital to prevent any electrical faults. Testing the connections before finalising the installation guarantees that the SmartVent operates effectively and reliably in its new environment.
Configuring the SmartVent App
After the hardware installation is complete, configuring the SmartVent app is the next step for users in Wellington. This app serves as the control centre for managing the SmartVent system effectively. Users need to download the application from their respective app store and create an account with their email address. Once logged in, it is essential to follow the on-screen instructions to connect the app to the SmartVent system, ensuring all components are recognised and ready for operation.
Following the initial setup, it is crucial to fine-tune the app settings to match your home’s ventilation needs. The app allows users to adjust airflow settings, monitor air quality levels, and schedule operational times according to preference. Proper configuration contributes significantly to the efficiency of the SmartVent ventilation installation in Wellington, ensuring optimal indoor air quality and energy use throughout the home.
Syncing with Your Home Automation
To sync your SmartVent system with your existing home automation setup, begin by ensuring your home automation hub is compatible with SmartVent technology. Many popular systems can integrate seamlessly, allowing for enhanced control over your home's ventilation. Through the SmartVent app, you can input network information, enabling the system to communicate with your other smart devices. This gives you the ability to create schedules and set preferences tailored to your lifestyle, all while maintaining optimal air quality indoors.
During the SmartVent ventilation installation in your Wellington home, take advantage of custom settings found within the app. Adjusting preferences based on occupancy patterns can significantly improve energy efficiency. Once connected, you can monitor real-time data through your home automation platform, allowing for smart adjustments as needed. This integration not only optimises ventilation but also elevates comfort throughout your living spaces by harmonising indoor climate control with your daily routines.
Testing the Installation
After completing the SmartVent ventilation installation in your home, it is crucial to conduct thorough performance checks to ensure everything operates as intended. Start by testing the airflow in various rooms. This can be done by feeling for draft or using a smoke test to visually assess circulation. Ensure that the system responds promptly to your adjustments, indicating a successful connection.
Next, monitor the app to confirm that readings and settings align with the physical output of the system. If there are discrepancies, double-check the wiring and connections for any potential issues. This step is vital in ensuring that your SmartVent installation provides optimal efficiency and comfort throughout your living space.
Conducting Performance Checks
After completing the SmartVent ventilation installation in Wellington, it is crucial to conduct thorough performance checks to ensure the system operates as intended. This involves assessing airflow through vents in various rooms to confirm that the distribution is even. Monitoring the temperature and humidity levels can provide insights into how effectively the system is maintaining a comfortable indoor environment.
In addition to airflow assessments, troubleshooting potential issues should be part of the performance evaluation. Engaging in regular monitoring via the SmartVent app allows homeowners to check system status and make necessary adjustments. Addressing any discrepancies or performance lags promptly can enhance the efficiency of the ventilation system, ensuring optimal air quality throughout the living space.
FAQS
What is a SmartVent system?
A SmartVent system is an intelligent ventilation solution that helps maintain optimal air quality and temperature in your home by managing airflow and integrating with home automation systems.
Why should I hire an electrical contractor for SmartVent installation?
Hiring a qualified electrical contractor ensures that the SmartVent system is installed safely and correctly, adhering to local regulations and standards, which is crucial for the system's performance and longevity.
How long does the installation of a SmartVent typically take?
The installation time for a SmartVent system can vary depending on the complexity of the setup, but it generally takes between a few hours to a full day to complete.
Can I configure the SmartVent app myself?
Yes, the SmartVent app is designed for user-friendly setup, allowing homeowners to configure settings and preferences easily. However, it may be beneficial to consult with your electrician for optimal configuration.
What should I do if I experience issues after installation?
If you encounter any problems after the installation of your SmartVent system, it's best to contact your electrical contractor or the SmartVent customer support service for assistance.